

How to create a slick product video from home.
Sammie tells us how she created this short video of the Sony A7 III from the comfort of her home in lockdown using basic equipment.
During lockdown Sammie learnt a new skill and pushed herself to produce a short professional style video. We were so impressed with what she came up with that we asked her to tell us how she acheived the look. Here she goes through the process, step by step, so that you can recreate something similar in your own home. If you want to show-case small items that you are looking to sell this kind of product video would work really well.
Here is Sammie's short video of the Sony A7 III
EQUIPMENT:
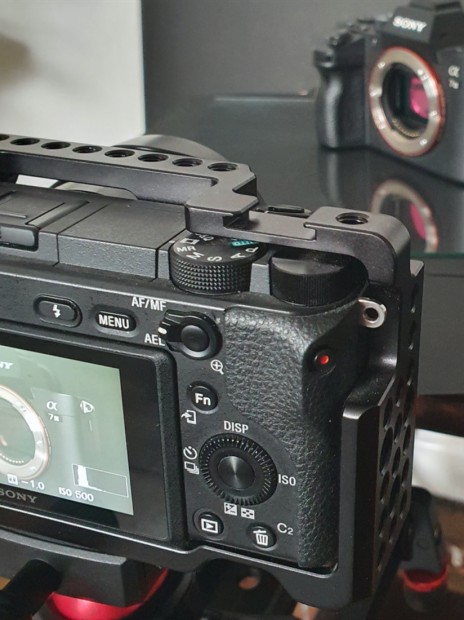
Sony A6400 (To capture footage, Shot in 60FPS so can be slowed if needed in post)
Tripod
SliderCamera (A7III)
Sheet of glass from a Picture frame Lazy susan
Black paper for under glass
A2 Black board for back ground TableSOFTWARE:
Imovie (free video editing software)
Keynote (To create clips and images of text to put into video)
Capturing the video
The glass was used to create more depth to the image than just a black background.
this did create some difficulties with reflections. so adjustments to the back ground board was needed with several shots and I kept the shots low so there was little of the edges of the glass shown in the shots.To create more movement in the video and interest to draw you in I used a lazy suzan and a slider, pushing the camera in and out of frame and spinning to show all aspects and details of the product.
I captured video clips moving the product back and forth in several takes to make sure I had more options when putting together video edit.
I used a tripod to make the shots steady and allowing me to move the product after pressing record.


Video edit
I used Imovie to piece together the video edit,
The clips are roughly 5/6 seconds each.
this allows enough time to see the product details and read the information shown on the clip.I tried to keep the information to the main features of the camera/product and only 3 or 4 facts per clip making it easy to read and follow without too much information.
I created an intro for castle cameras which I also used as an as the last clip to help bring the video together can therefore be used in different social media platforms and still be linked to the website and can be used on each product video.
I had to use keynote to create the text video clips allowing me to paste into imovie and make a layer ontop of video camera/product clips this was a difficult part as i needed to capture an image from the clip to make sure the text did not overlap the procut in frame and also had to work out how long i needed each text clip to make sure that it faded in and out at the right time.
I also cut all the audio from the clips and added some royalty free music.

READ MORE: How To Create Video That Stands Out
The process was a learning curve and was something that I have not done before. This included taking video shots, processing video and editing the video with the software I had available.
I think that if there was better planning of the process it would have been a smoother process. Things like shot list, making notes on what information I wanted to put in to the video about the product would have helped with the shot choices.
This was my first time using Imovie and editing anything like this, therefore with time and better planning it would be faster to put together and would probably have a better result.

READ NEXT: The Complete Guide To Vlogging
- 9th March 2021
Recently viewed...


